Not properly exposed, no detail on the subject. Is this even an image worth considering? If you are wondering what I’m talking about, then read on further.
An image where there is distinct contrast and lack of detail pervade an emotional and physiological effect into the image that can be beautiful, mysterious and even frightening to the viewer.
Silhouettes can be a best way to add drama to the scene. We’ll look at some tips on how to make some amazing silhouettes.
Choose your subject carefully.
Don’t worry about your camera settings right now. Before that, it is very important to put your thought on the right subject. A little bit of experimentation is required to get it right. The shape of your subject is very important. It should be pronounced well and should stand out from any distraction or clutters. The subject should be very simple and pronounced from a two-dimensional perspective.
Lighting
Obviously, silhouettes are nothing but back-lit images. Backlighting enables you to overpower the details in the subject.
Silhouette shot in studio (controlled environment) is very easy. You just need a solid background and right equipment to create a silhouette image. Hit the background with the lights and keep it away from the frame. The subject stands out against the bright background hence giving you a good silhouette image.
Silhouette shot in wild (uncontrolled environment) is very difficult. It requires one to ascertain the situation and act at faster speed based on the changing environment. The best time to make some silhouettes are the early morning sunrise or sunset time. This is when the sun is at lowest in the sky, it makes an ideal often colorful back-lit situation.
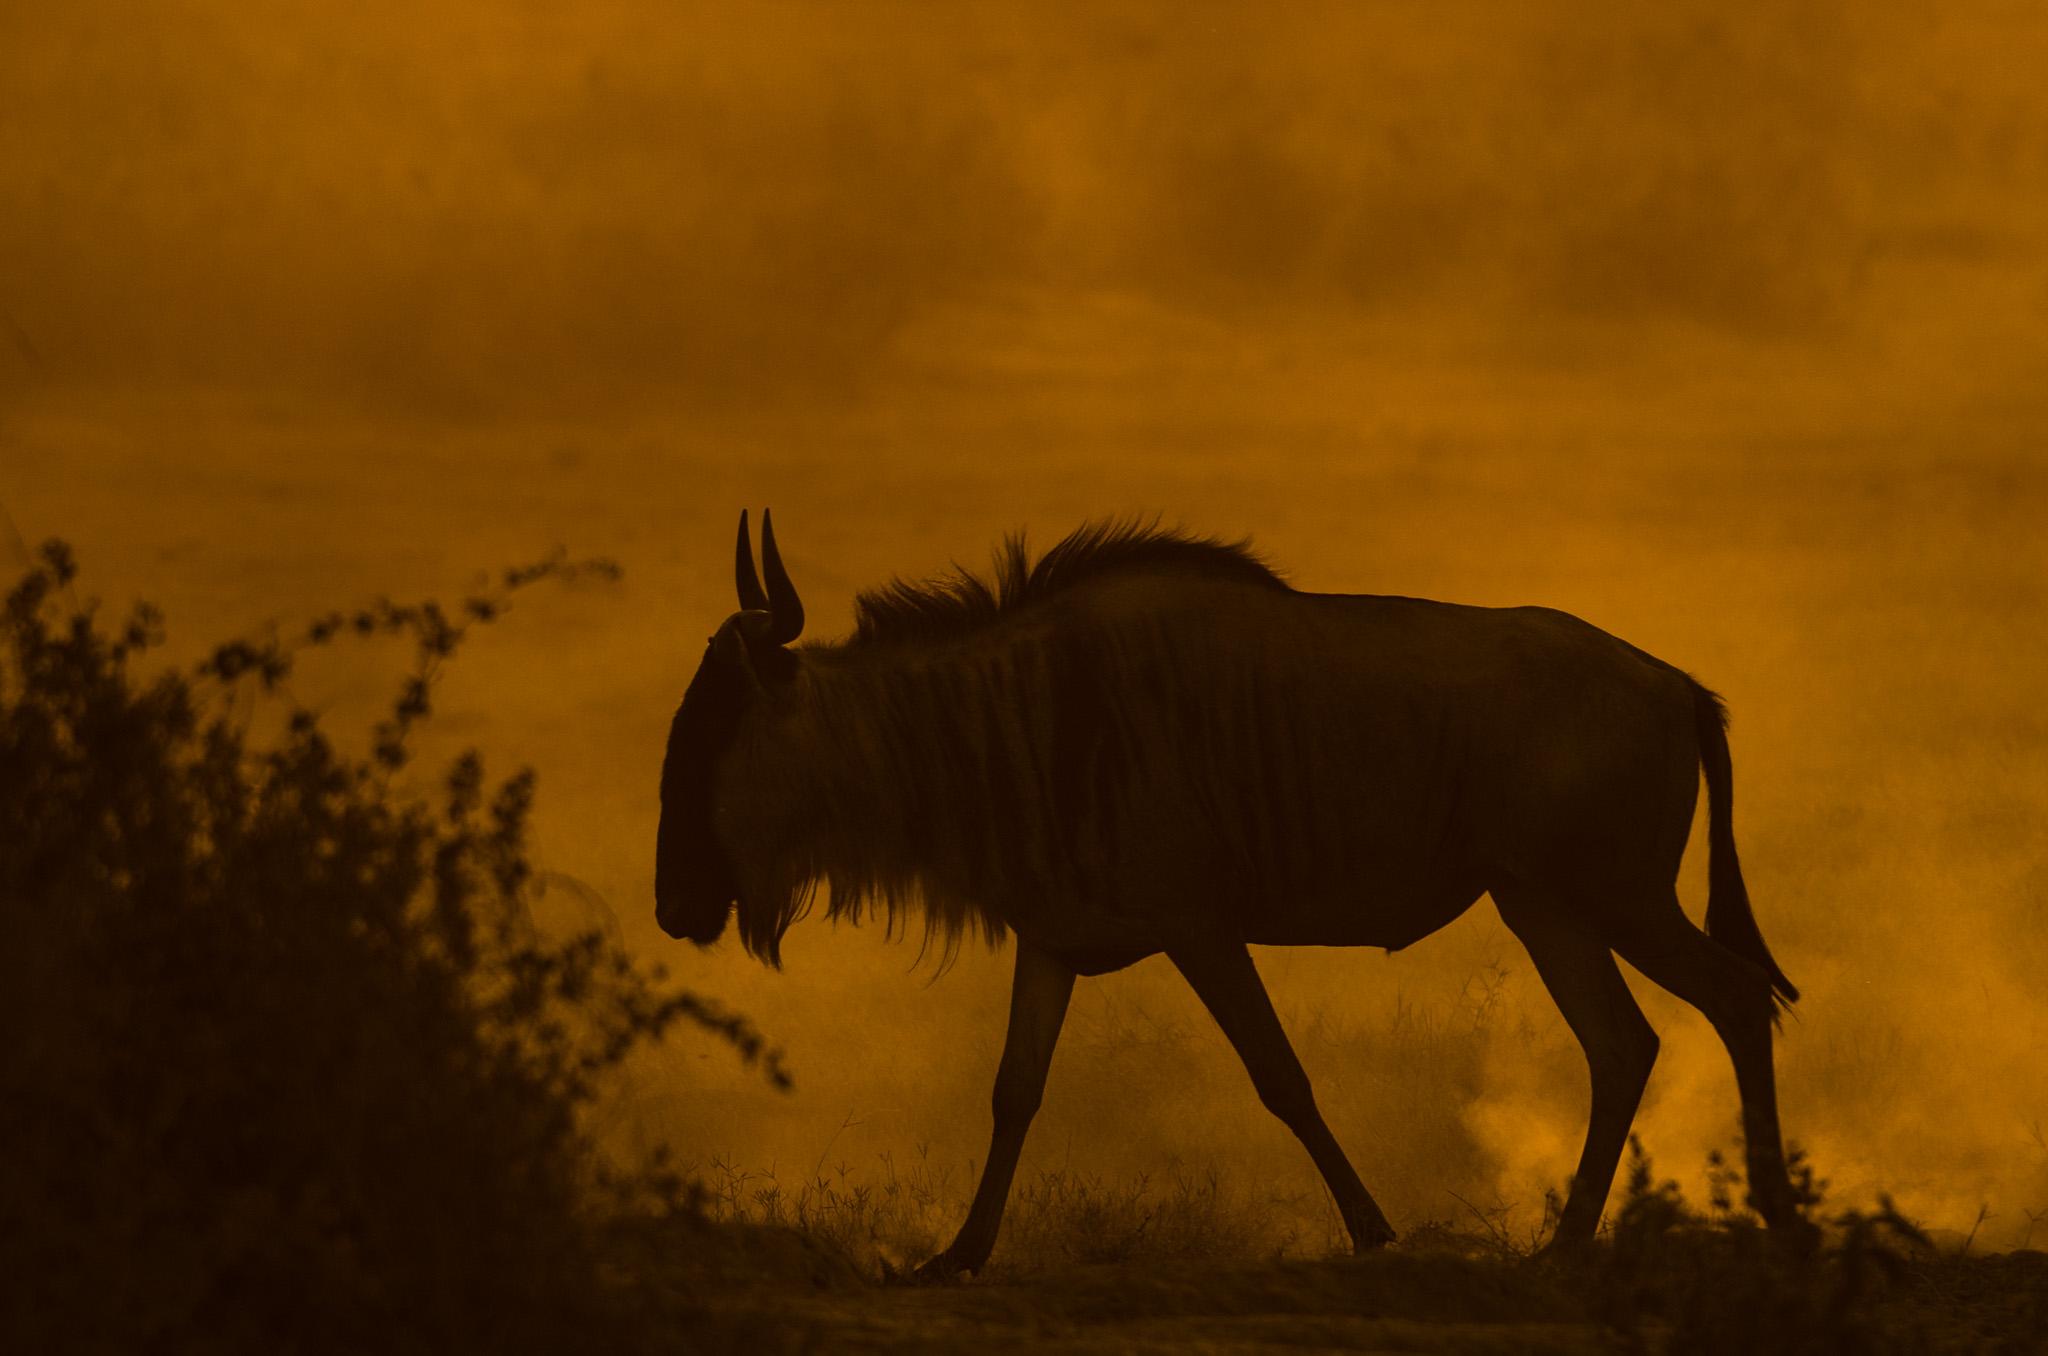
The shot above was made from last year’s Photography tour to Maasai Mara by Birdwing Travel And Photography. The image was shot late evening. The skipper Kesava Murthy immediately realised that he wanted to create an image with drama!!!
That is when instead of sun behind the back rule, he took the safari vehicle to opposite side to capture the flying dust from the wildebeest's walk.
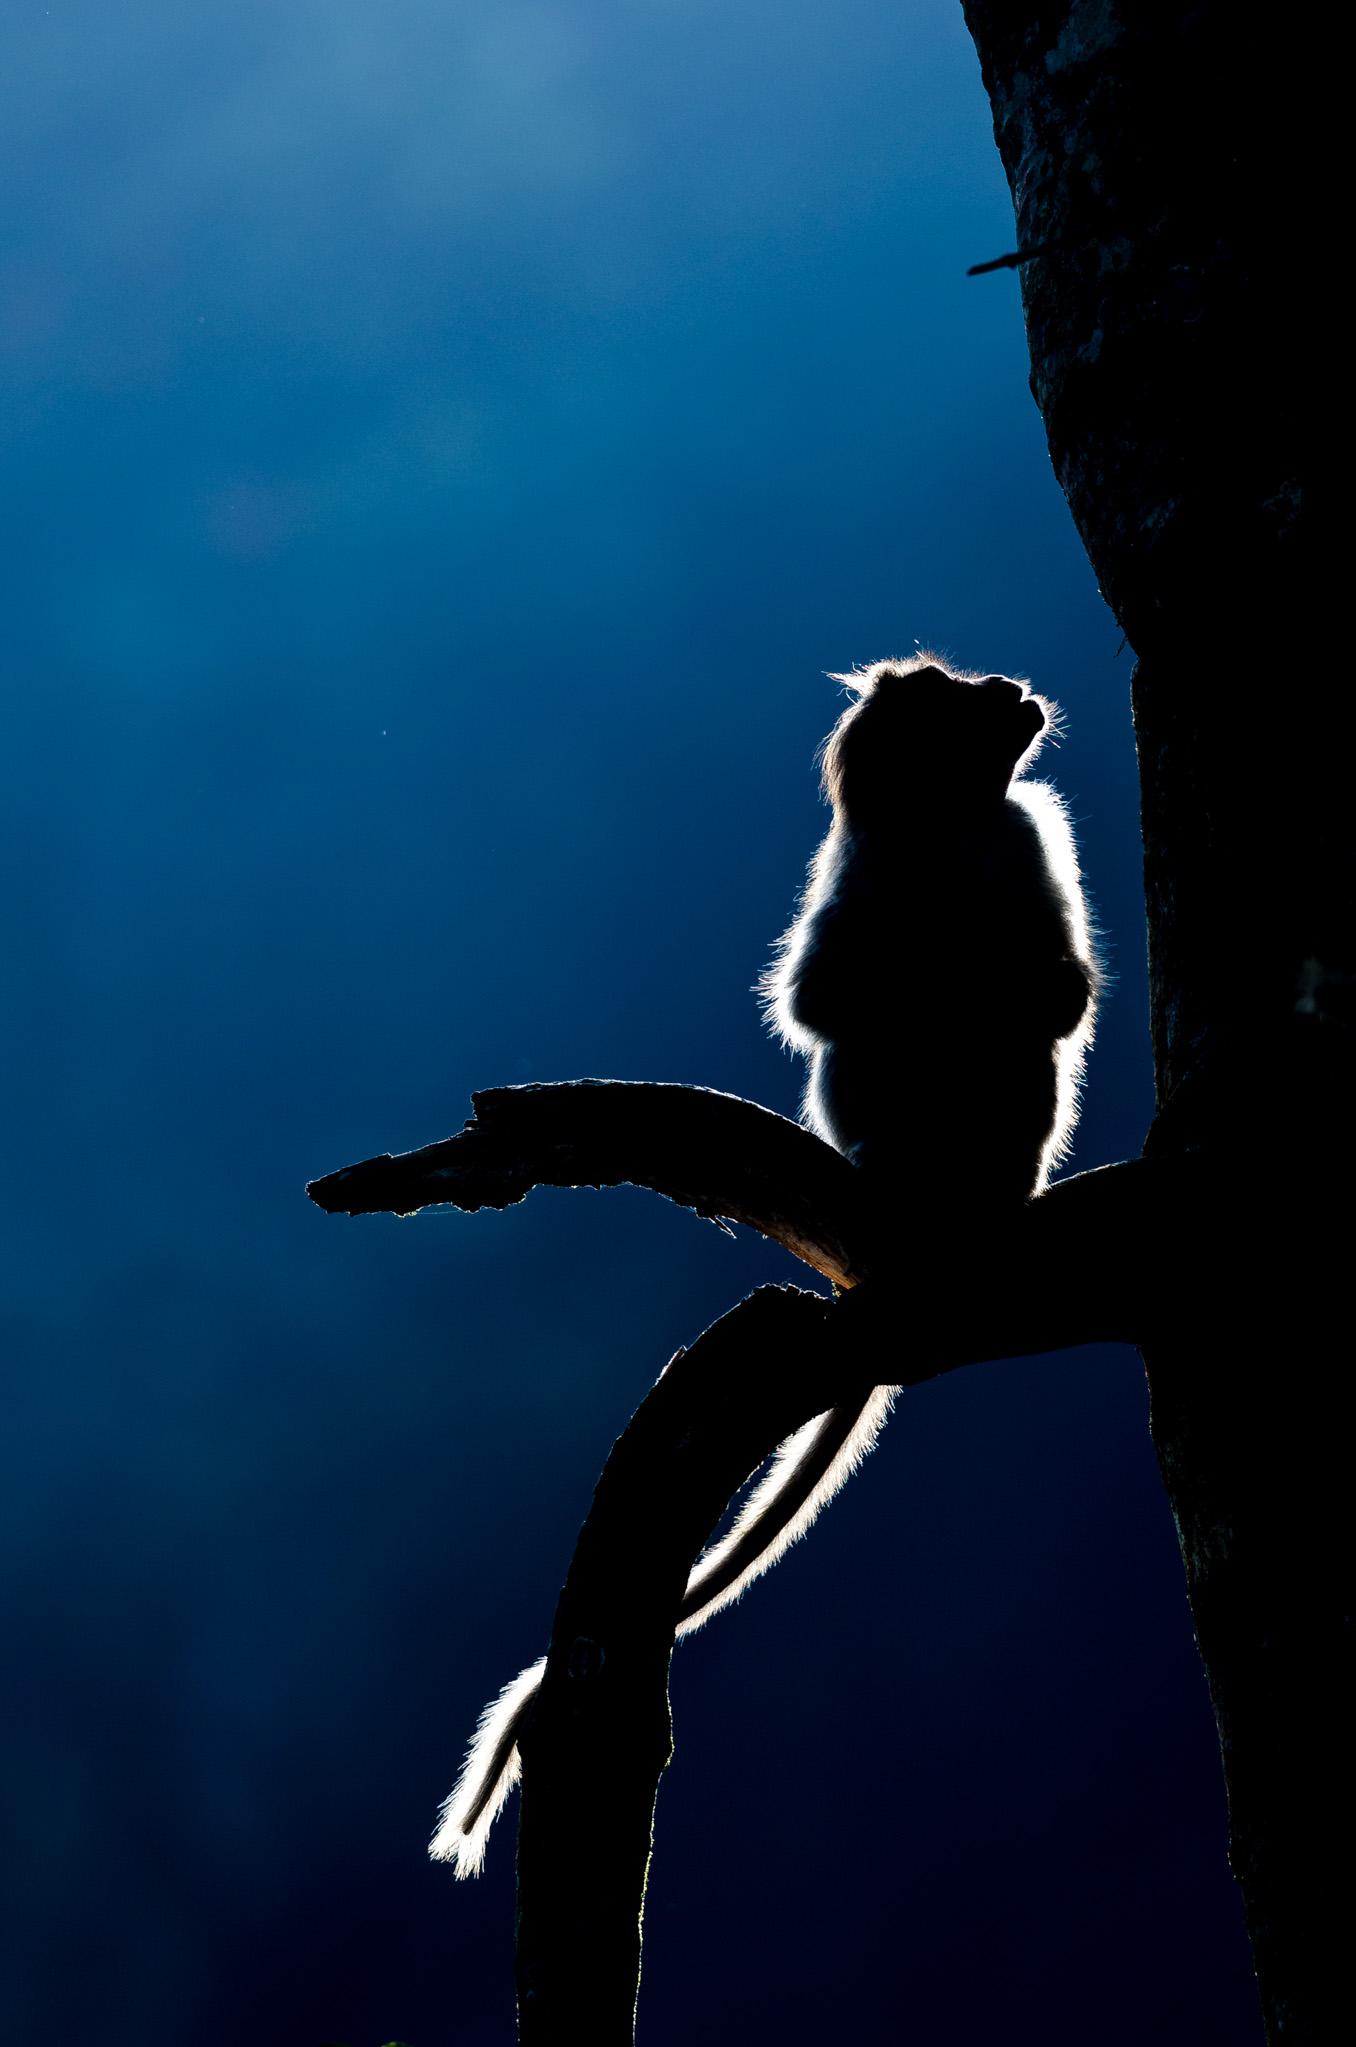
The below shot is from early morning sunrise when the sun was just popping up. What do you think makes this shot interesting? For me, it’s the defined shape of the macaque highlighted by the stark contrast and lack of detail in the macaque drawing the viewer's full attention to the unique pose of the macaque.
Tech details:
ISO : 400
SS : 1/350
F : f/4.0 @ 300mm
Personal preference: I always shoot at spot metering while planning for a silhouette shot. The first shot was shot at ISO 160, at f/7.1 and SS 1/320. The shutter speed if you notice is faster to achieve a dark image. The aperture has to be adjusted so that you don’t let in too much of light to get the details. We are trying here to get a dark image with stark contrast. Hence with spot metering, a faster shutter speed and fairly open aperture on a low ISO should result a good silhouette image.
Now that you’ve read our way of creating a silhouette, what are you waiting for. Go ahead and experiment. Show us some results.